How to add anchor links into Webflow Collections
How to add the ability to use anchor links in all of your collection pages dynamically with one piece of code.


How to add the ability to use anchor links in all of your collection pages dynamically with one piece of code.
So although we love Webflow one annoying thing is that if you have your blog on it as a collection, you cannot add in section links or anchor links into your blog posts. This is when you want to click on a link at the top in a table of contents and it jumps you down the page to the relevant section.
I have seen a few work arounds for this, one of each is using the embed function to add in code into the post body but that is pretty manual and is quite annoying to do, so, we have a little hack for you here which is a bit of Javascript you can add into the Template file for your blog posts once and then it will give you the ability to add anchor links into every single one of your posts in that collection!
Note: this code will add anchor links into all of your H2 headings on all of your collection pages. It's not a big issue really, it just means all of your H2 headings become links but if you prefer not to do this then you may want to find an alternative method.
Your collection will always have a template page. This is the template used for all of the items within the collection. Any changes to this page will change all of your collection items. So what we are going to do is add a bit of Javascript into the header of this page so that it applies to all blog posts, but it will only apply to pages using this template and wont change the rest of your website.
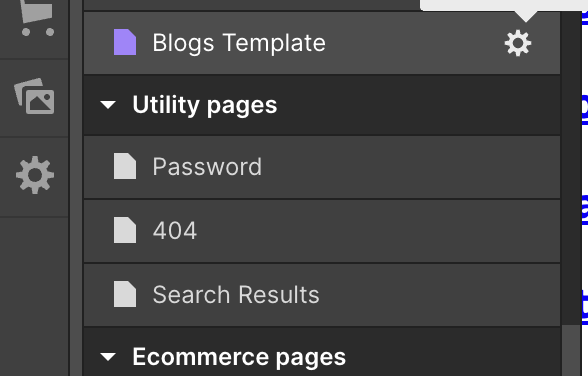
Once you have found this page you need to go to settings and scroll down to where it says <head>.

Next just copy and paste the code below into the box. We will explain what the code does in a second.
What this code does is look through the webpage for anything marked as a H2 heading. This is because these headings are usually the ones you should be linking to with anchor links. You can of course modify this script to work for different headings by changing h2 to h3 etc. or something else altogether.
Once it has all of these headings it loops through the list of headings and then adds an ID which starts

The next bit of the code creates an anchor link element and adds it before the heading element, this enables you to link to that element. It uses the headingID created above as the reference for the link. So section 1 anchor link would be #section-1 and so on.
You don't need to fully understand this if you are not familiar with Javascript so don't worry about it! You can always chuck it into ChatGPT and ask it to explain it for you.
The next step is that you should publish these changes to your staging or test domain which is typically the one with 'webflow' in the URL. We recommend you have this domain removed for Googles Index so it won't compete with your main domain.
Once published you should check how your headings look, they have look like links now you have added a link to them. In which case you may want to add a custom style to the blog post template page for your H2 links specific to that page. Here is how that would look again from a code perspective as a basic example:
You would copy this code into the <head> part of your template page again but you would need to put the <style> </style> tags around it to make it work. You can then adjust the style to match your normal headings.
Now that's done you can add your anchor links at the top of your page. All you need to do is add a link to the text on the page and use the #section-1 link for section one, #section-2 for section two and so on.

The great thing about this script is that there is no limit to the number it will create, as long as the heading is set to H2 it will have a link created so you can you use it as an anchor.
We found this to be really helpful for our own website so hopefully it helps someone else out too! Feel free to get in touch if something doesn't make sense. But hopefully if you just copy the code as directed and maybe tweak your H2 styles all you will need to do is add in the anchors and use the right reference links! Happy linking.
Have a look through our directory of agencies that specialise in working with B2B SaaS & Technology brands.
view the agenciesWe've collated lists and directories of the best B2B SaaS marketing consultants, agencies and experts. Use our lists to shortlist your supplier of choice for your next marketing strategy.
Find an Expert


B2B Hackers Ltd, 86-90 Paul Street, London, England, EC2A 4NE